

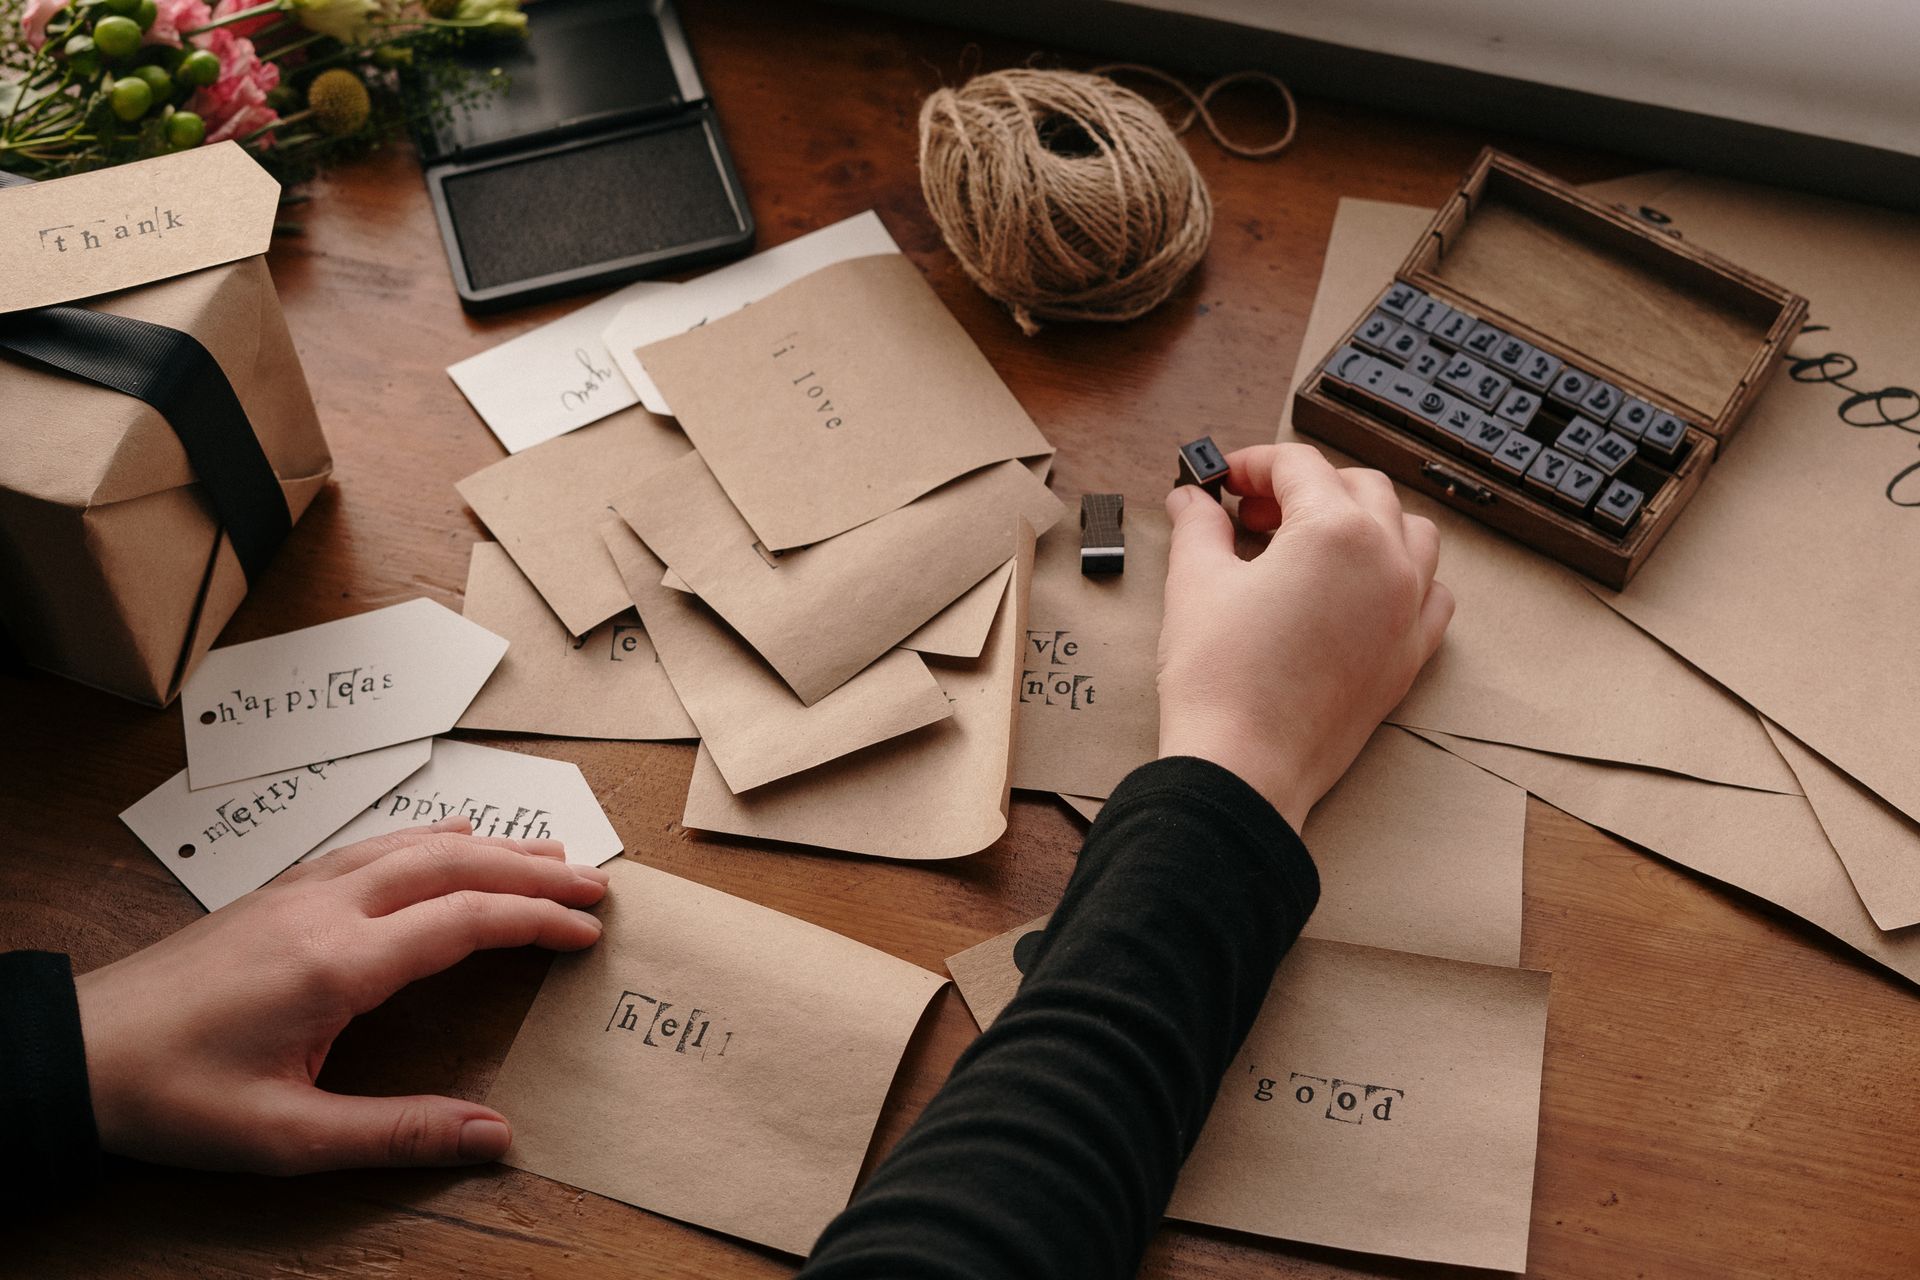
Intermediate craft enthusiasts, casual makers, and busy gift-givers often want DIY handmade gifts that feel special, but the results can look homemade in the wrong way. The core tension is real: budget-friendly gift ideas can read as “cheap” when the materials, finish, or presentation don’t match the care behind them. The good news is that luxurious-looking presents come more from intention than expense, especially when creative gifting techniques are doing the heavy lifting. With a few smart choices and a clear eye for what looks polished, simple projects can land like high-end keepsakes.
Quick Summary: Make Handmade Gifts Look Luxurious
- Focus on personalization to make handmade gifts feel intentional, thoughtful, and high-end.
- Use simple design principles to create a cohesive, polished look with basic materials.
- Choose materials and details strategically to elevate simple supplies without overcomplicating the project.
- Prioritize presentation strategies so wrapping and finishing touches instantly boost perceived value.
Turn Handwritten Notes and Recipes into Gift-Ready PDFs
Once you’ve nailed the overall “luxury” plan, the finishing details are where a handmade gift starts to feel truly professional. If you’re including a handwritten recipe card, care instructions (for candles, knits, plants, or bath soaks), or a personal gift note, digitizing it into a clean PDF instantly elevates the presentation. Snap a clear photo, then use simple online tools to convert JPGs to PDFs online so your pages look tidy, consistent, and ready to print or share. In seconds, your charming handwriting becomes a polished document that feels like it came from a boutique, easy for the recipient to save, reprint, or reference without worrying about smudges or lost scraps of paper. It’s a small touch, but it dramatically boosts perceived value and signals care, intention, and craftsmanship.
Build a Luxury-Look Handmade Gift, Step by Step
This simple process helps you turn an everyday handmade item into something that looks boutique-level, even on a normal budget. For general readers, the goal is not perfection, it is making smart choices that increase perceived value through materials, personalization, clean finishing, and polished presentation.
- Choose a “rich-looking” base palette and texture
Start with 1 to 2 main colors and one consistent texture so the gift feels intentional, not busy. Neutral tones, deep jewel tones, and matte finishes often read as more premium than neon or highly mixed patterns. If you are mixing materials, keep them in the same visual family, like kraft paper with linen ribbon, or glass with a simple label. - Add one personal detail that feels tailored
Pick one customization that connects directly to the recipient, like a name, initials, a meaningful date, or a scent blend chosen for them. This works because many people actively seek customization, and consumer interest in customized goods has been strong in the past 12 months. Keep it subtle and consistent, such as a single monogram on a tag rather than multiple decorative elements. - Clean up the “finish work” like a pro
Trim threads, wipe fingerprints, smooth labels, and standardize anything repeated, such as tag size or jar placement. Choose one font style for all text and keep spacing generous so it looks designed, not squeezed in. A quick quality check under bright light helps you spot crooked seams, uneven wax tops, or smudges before you wrap. - Create a tight gift set that looks curated
Group items in odd numbers or a simple pair, and make sure each piece has a clear purpose, like a candle plus matches, or soap plus a washcloth. Include a short note or care card so the recipient knows how to use it confidently, which increases the feeling of “brand-level” thoughtfulness. If the gift is for someone close, lean into the handmade story, since buying gifts for loved ones tends to strengthen interest in handmade items. - Wrap with structure, not extra decoration
Use a sturdy box or firm bag so the gift holds its shape, then add tissue for volume and a single focal point like a satin ribbon, wax seal sticker, or minimal tag. Keep tape hidden and align edges, because crisp lines signal quality faster than more accessories. Finish by making the outside match the inside in color and style.
Handmade Gift FAQs: Materials, Time, and Finish
Q: What materials instantly make a DIY gift look more expensive?
A: Choose fewer, better-looking surfaces: thick cardstock, glass, linen-like ribbon, and matte labels. Even budget items read premium when colors match, and edges are crisp. When in doubt, swap plastic shine for matte or textured finishes.
Q: How do I personalize a gift without it looking cluttered?
A: Pick one “hero” detail like initials, a date, or a short phrase, then repeat it once on a tag or label. Keep fonts consistent and leave blank space around the text so it feels designed. If you add more than one personal element, make the second one tiny.
Q: How can I make something impressive when I only have an hour?
A: Use a simple base and spend most of your time on trimming, cleaning, and packaging. Quick projects work best when the presentation does the heavy lifting, and gifting handmade goodies is already a popular, budget-friendly approach for many people.
Q: Why do my labels look crooked or bubbly, and how do I fix it?
A: Bubbles happen when the surface has dust or the adhesive grabs too fast. Wipe with rubbing alcohol, center with a light pencil guide, then press from the middle outward using a card edge. If it is still off, reprint and treat the first label as your template.
Q: Can I make cheap supplies look luxe without buying new tools?
A: Yes. Upgrade the “touch points” with what you have: cut cleaner edges, standardize sizes, and use one neat closure like twine or ribbon. If you need a low-skill craft style, a beginner’s guide to crochet can help you make small, polished add-ons like mini wraps or tags.
Gift With Confidence Using Simple DIY Presentation Upgrades
It’s easy to worry that a handmade gift will read as “homemade” instead of thoughtful, especially when time and budget feel tight. The fix isn’t spending more; it’s choosing a budget-conscious crafting mindset and letting presentation and finish do the heavy lifting so the work looks intentional. When those small upgrades become your default, DIY gift benefits show up fast: cleaner results, more shareable gift ideas, and real confidence in handmade gifts. Expensive-looking gifts come from intentional choices, not expensive supplies.
Image via Pexels